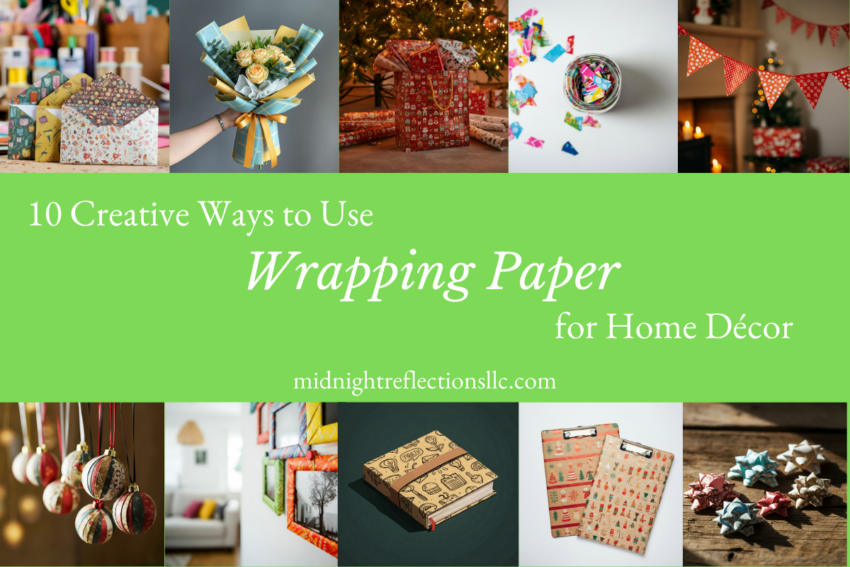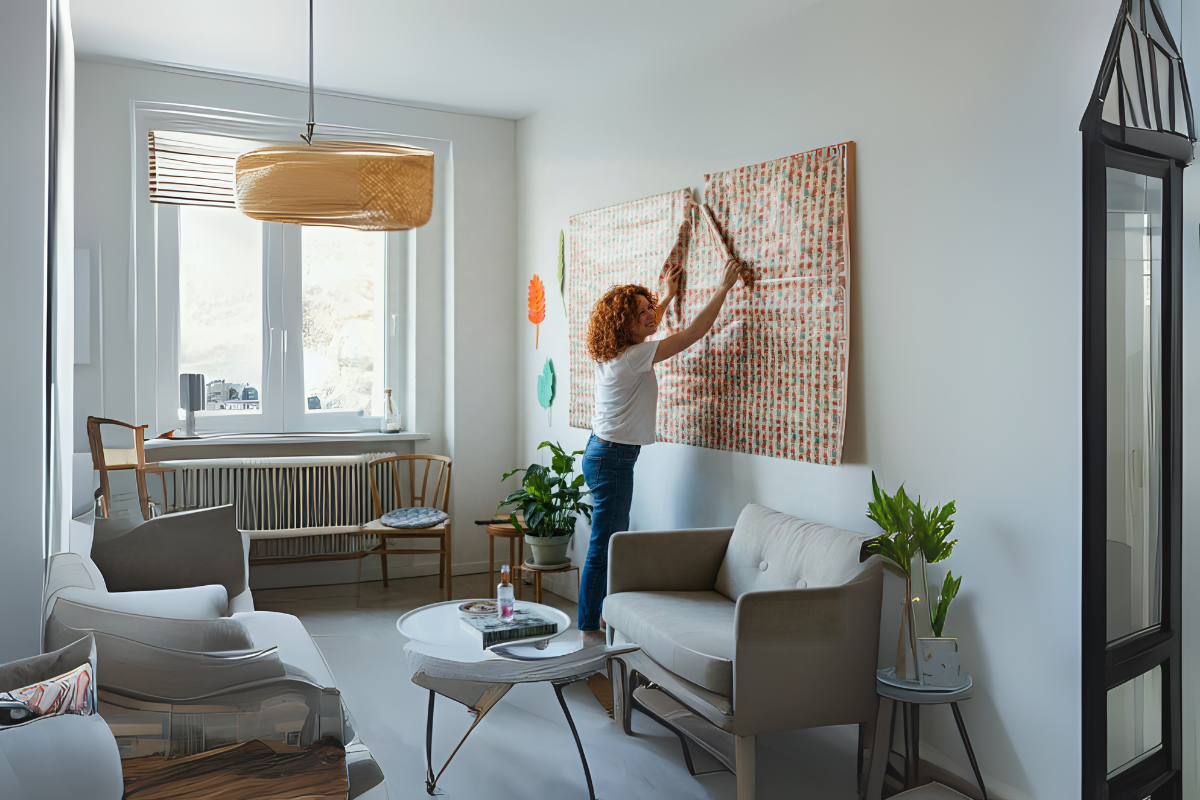
Is it possible to decorate your walls using wrapping paper? The short answer is yes, but it involves creativity and out-of-the-box thinking while also figuring out how to place everything appropriately. Yet, if it’s done right, this is one of the most creative wrapping paper ideas you can use. Sure, we all want to create a wrapping paper gift or maybe use wrapping paper for bouquet, but using it as a wallpaper is quite interesting and different. Here’s how to do it!
What items do you need for adding wrapping paper to your walls?

First, you need to decide what area of the wall you want to be covered with wrapping paper. Some people want to use wrapping paper on their entire wall, others want just to cover a small section of the wall. We recommend getting the following supplies:
- Scissors
- Rotary cutter
- Ruler
- Level
- Squeegee (if using glue)
- Double-sided tape or Scotch tape
- Staple gun or thumbtacks (depending on how long you want your decor to last on your wall)
What should one look for when choosing wrapping paper for your wall?
Wrapping papers are well, meant for wrapping and wallpapers generally are the best material for decorating a wall, but it does not mean you can’t creatively utilize wrapping papers to add pizzazz to your area. These tips make sure you’ll get the best out of your wrapping paper wall design:
- Choose a durable paper: Long-lasting designs need sturdy paper that won’t rip at the slightest touch.
- A matte finish paper is ideal: While sparkly wrapping paper adds interest to your wall, some people might not be able to stand the glare, especially if it covers a whole length of your wall. Matte or low-gloss finish wrapping paper are easier on the eyes.
- Look for easy-to-align patterns: Choose a wrapping paper that has a seamless pattern so you won’t have much difficulty aligning each piece.
- Pick a versatile design: Choose a wrapping paper that’s harmonious with your existing decor.
Steps you need to follow as you add wrapping paper to your walls

Measure your wall
The first thing you want to focus on is to measure the wall and see how much wrapping paper you need. As we mentioned earlier, you want to figure out what section of the wall you need wrapping paper for. Measure everything, and then you can pick up the desired wrapping paper you want. A good idea is to acquire more than you need. After all, you will need to do some cutting and adjustments, so having more is always going to come in handy.
Clean and prep your wall
Clean the wall and ensure there are no bulges or items that would cause bumps once you apply your wrapping paper. A nice sandpaper job might be necessary especially if you have wooden rustic walls that might be naturally uneven.
Apply the wrapping paper to your wall
You can start adding in small amount of wrapping paper onto the wall. We recommend adding smaller sections and then using the attachment method of your choosing, be it staples, scotch tape, or thumbtacks. Going with a smaller section first will ensure stability, and then you can add more and more wrapping paper as you go along.
A great idea is only to use acid-free wrapping paper because that won’t damage the walls. If you can opt for a removable adhesive, that will work even better.
Final touches
After attaching the wrapping paper to the wall, give it a final once-over to smooth out any bumps or wrinkles.
Removing wrapping paper from the wall

At some point, you may want to change the design and try out either paint or new wallpapers for the walls. That brings the question, can you remove the wrapping paper from your walls? Yes, depending on what you used to stick it in place, you either need to peel it, remove the staples/thumbtacks, and you will be good to go.
t’s very important to take your time when adding wrapping paper to your walls. That’s because you need to measure everything correctly, and the installation process itself is also rather tedious if you rush. However, when taking your time, it becomes easier to prepare, installing the wrapping paper is less challenging, and you’ll be happier with the result. It’s very important to ensure that you install wrapping paper on a wall without lots of moisture and that the area itself is very well-ventilated.
Wrapping up
Using wrapping paper to decorate your walls is such a fun and creative way to breathe new life to your space without breaking the bank. It might take a little planning and patience, but the end result can be totally worth it. You can have fun picking your design, lining up patterns, and smoothening the bubbles out. This can be a personal, worthwhile activity decorating a small section or a whole wall, if you like. So, grab your tools, get creative, and enjoy turning your walls into something special!